In today’s competitive B2B sales and marketing landscape, efficiency and precision are crucial for success. For sales professionals, recruiters, and digital marketers, LinkedIn Sales Navigator offers unparalleled potential to streamline prospecting and engagement. However, many users fail to fully leverage its capabilities, treating it as a basic lead repository rather than the pipeline-building powerhouse it can be.
This guide dives into two underutilized yet highly effective filters within Sales Navigator that can help you book more calls, engage the right prospects, and close deals faster. By mastering these filters, you’ll transform Sales Navigator into your secret weapon for hyper-targeted and productive outreach.
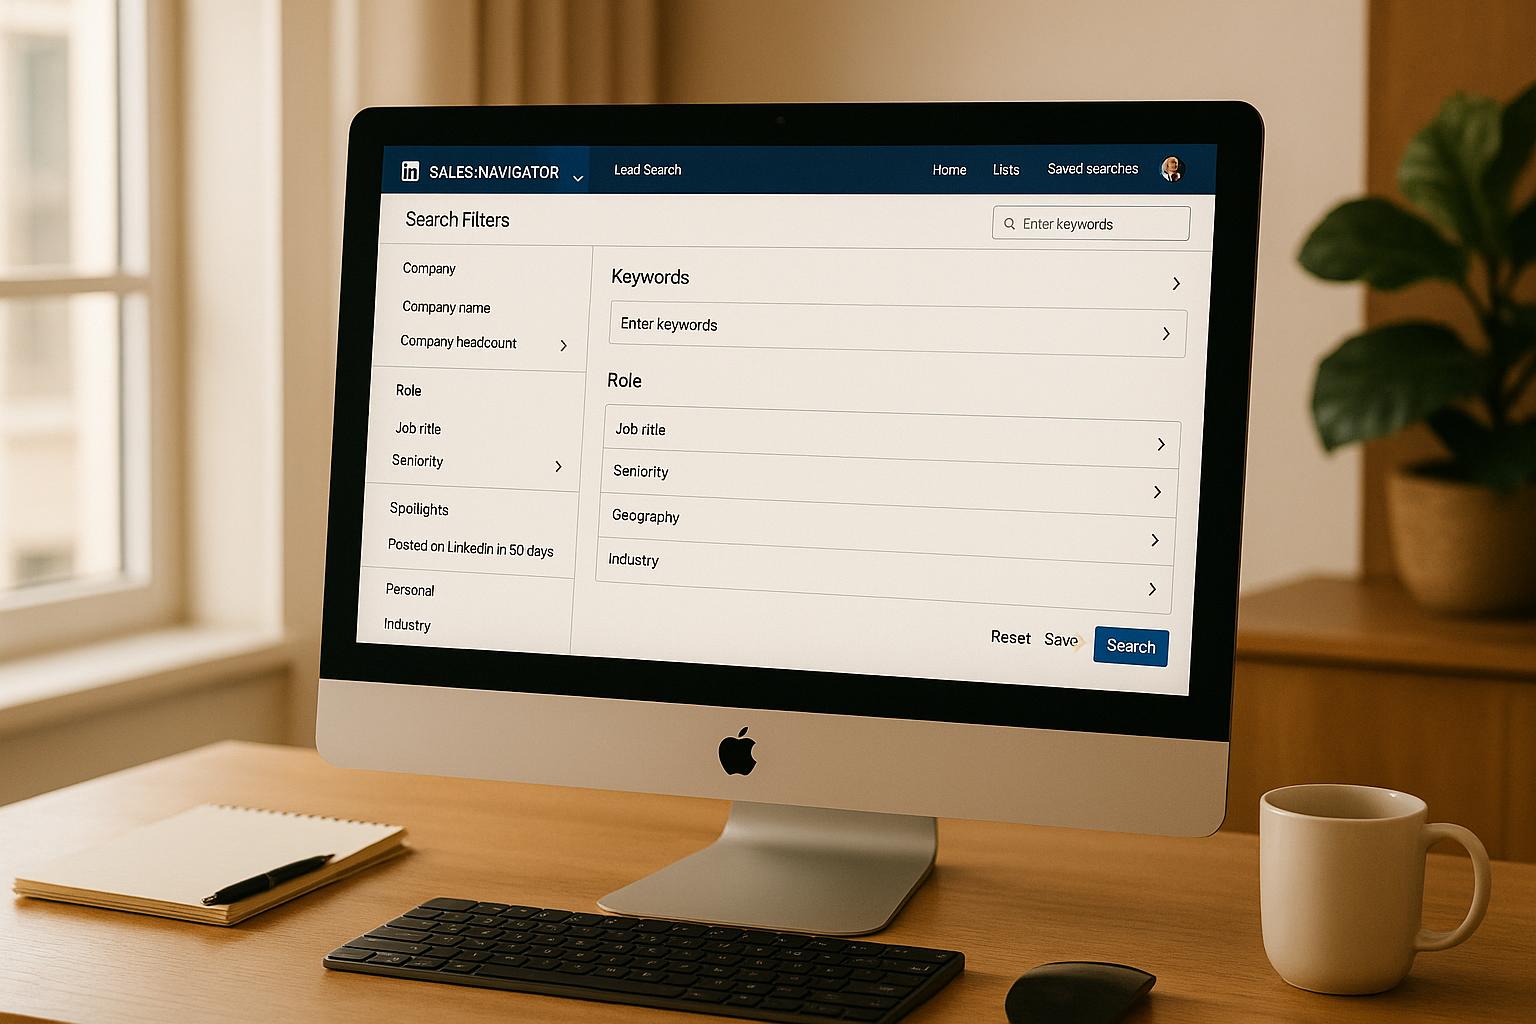
Why Sales Navigator is More Than a Lead Directory

Sales Navigator is designed to provide sales professionals with detailed insights into their target audience’s behavior and activity on LinkedIn. Unfortunately, too many users take a "spray-and-pray" approach, blindly adding leads and sending generic messages. This inefficient tactic leads to low response rates and wasted time. Instead, Sales Navigator can be strategically employed to pinpoint active, engaged prospects and focus on building authentic connections that lead to conversions.
The key lies in understanding and correctly using filters that reveal actionable information about your prospects. Let’s explore the two most powerful filters and how they can transform your outreach efforts.
Filter #1: "Posted on LinkedIn"
The "Posted on LinkedIn" filter is arguably one of the most valuable tools in Sales Navigator. It helps you identify prospects who are actively engaging on LinkedIn by showing recent posts or comments. Why is this important? Engaged users are more likely to respond to outreach because they’re already active on the platform.
How to Use the "Posted on LinkedIn" Filter:
- Start with a Targeted Lead List: Before applying the filter, ensure you have a defined lead or account list. This step eliminates irrelevant prospects and narrows your focus to those most likely to fit your ideal buyer persona.
- Apply the Filter: Navigate to the "Posted on LinkedIn" filter in the "Recent Activity" section of Sales Navigator. This will display users who have posted or commented within the past 30 days.
- Engage Strategically:
- Review Posts: Open a prospect’s profile, scroll through their recent posts, and analyze the content they’ve shared.
- Engage Thoughtfully: Like, celebrate, or comment on their posts with meaningful contributions. Avoid generic responses like, "Great post!" Instead, provide insights or ask follow-up questions to demonstrate genuine interest.
- Leverage Comments: If a prospect hasn’t posted recently but has commented on others’ posts, dig into their comments to find discussion points you can reference.
Why It Works:
This filter ensures you’re focusing on prospects who are already active and engaged on LinkedIn. By interacting with their content, you establish familiarity and credibility before reaching out directly. For example, if a prospect left a thoughtful comment on a colleague’s post, you can mention it in your message to create a personalized introduction.
Pro Tip: Timing Matters
Engage with prospects’ activity as close to the posting date as possible. Time-sensitive interactions show attentiveness and increase the likelihood of sparking a conversation.
Filter #2: "Changed Jobs"
The "Changed Jobs" filter is another goldmine for prospecting. It identifies individuals who have recently transitioned to new roles. Why is this significant? Professionals in new roles are often eager to make an impact, explore new vendors, and implement solutions that drive results.
How to Use the "Changed Jobs" Filter:
- Narrow Down with Account or Lead Lists: Similar to the first filter, start by applying this filter to a well-curated account or lead list.
- Apply the "Changed Jobs" Filter: Locate this filter under the "Recent Updates" section in Sales Navigator. It identifies prospects who have started a new position within a set timeframe (e.g., past 90 days).
- Target Decision-Makers: Layer the filter with specific job titles or personas, such as "VP of Sales" or "CXO." This narrows your focus to high-value individuals with decision-making authority.
- Craft Personalized Messages: When reaching out, acknowledge their new role with a congratulatory note:
- Example Message: "Hi [Name], congratulations on your new role as [Job Title] at [Company]. I understand things are likely busy right now, but if I can be a resource for [specific solution], I’d be happy to connect."
- Engage with Content: If the individual has shared a post about their new role or related activities, engage directly with their content before reaching out.
Why It Works:
People stepping into new roles often aim to make a strong impression by identifying opportunities for growth and improvement. This makes them more receptive to conversations about innovative solutions and partnerships. By reaching out early in their role, you position yourself as a proactive and valuable partner.
Best Practices for Messaging
Even if you master filtering, a poorly crafted message can derail your outreach. Avoid overly salesy pitches or generic templates, as these will likely be ignored or marked as spam. Instead, focus on these messaging principles:
- Personalization: Reference specific details about the prospect’s recent activity, role, or company.
- Clarity: Keep your message concise and professional.
- Value-Driven Approach: Highlight how you can solve a problem or add value to their current objectives.
- Engagement First: Prioritize creating a connection by engaging with their content before initiating outreach.
Key Takeaways
- Sales Navigator’s "Posted on LinkedIn" filter identifies prospects who are actively engaging on the platform, making them more likely to respond to outreach.
- The "Changed Jobs" filter helps target individuals in transition, a stage where they’re often more open to considering new solutions.
- Engagement is critical: Interact thoughtfully with posts or comments before initiating direct contact to establish rapport.
- Layer filters with job titles, personas, or account lists to create hyper-targeted prospect lists.
- Timing matters: Engage promptly with prospects’ recent activity to maximize response rates.
- Avoid salesy messaging: Personalize your communication and focus on adding value rather than pushing for a sale immediately.
- Use filters to save time by focusing on high-potential leads while eliminating inactive or irrelevant prospects.
Conclusion
Sales Navigator is a powerful tool, but it requires strategy and precision to unlock its full potential. By mastering the "Posted on LinkedIn" and "Changed Jobs" filters, you can identify high-value prospects at the right time and engage with them in meaningful ways. Remember, the goal isn’t just to build a large network but to create authentic relationships that translate into measurable results.
The filters shared in this guide are not just shortcuts – they’re strategies for smarter, faster, and more effective prospecting. Use them consistently, refine your approach, and watch as your pipeline fills with high-quality leads ready to engage.
With these tools and techniques in hand, you’re well on your way to transforming your outreach game. Start implementing these strategies today, and turn Sales Navigator into your personal deal-closing assistant.
Source: "Sales Navigator Filters That Book Calls Fast | LinkedIn Lead Generation Tips" – Mandy McEwen, YouTube, Oct 3, 2025 – https://www.youtube.com/watch?v=faN8BwiR2l4